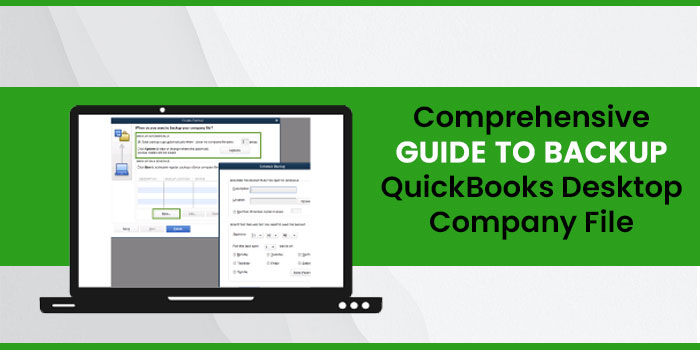
QuickBooks is a leading edge software solution to manage all the crucial accounting and bookkeeping tasks of small to mid-sized businesses. The application stores your accounting data in a QuickBooks Desktop company file. You can locate this file with (.QBW) in the folder containing your data file.
However, the company file can get damaged or corrupt when opening, using, or modifying it. Worry not! You will not lose your critical financial data. QuickBooks enables its users to Backup QuickBooks Desktop Company File data that can be restored when data damage occurs in the primary company file. Not sure how to backup your QuickBooks Desktop company file? Read this post until the end.
What is a QuickBooks Company File?
QuickBooks uses different types of the data files that gives a certain information about the type of the data stored in the file. You can recognize these files with their extensions. For instance, main company file (.QBW) and backup data file (.QBB) file are two different files and are used for different purposes.
Primary file store your bookkeeping data. On the other hand, backup data file stores a backup of the primary file and can be helpful in the situation of data loss or damage.
Also Read – Resolve QuickBooks File Doctor Is Not Working Problem
How to back up QuickBooks Desktop company file?
You can backup your data file in two simple steps described in the below-given list:
Step 1: Create A Backup File
Willing to backup your QuickBooks primary data file? In such a case, you have to create a backup file in the first place. Once done, it will keep your data safe when you run into a data problem. The backup file will save all your data including, letters, logos, images, templates, accounting data and other related files.
However, payroll forms are exception and requires additional effort to be backed up. Once done, you can backup your company data in two ways – Schedule automatic backup or Back up QuickBooks Desktop company file manually.
Method 1: Schedule Automatic Backups
Scheduling automatic backups can save your time & efforts and keep your data safe against loss or damage.
- From within the QuickBooks, go to File and then select Switch to Single-user mode.
- Again, in File menu, hover mouse over Back up Company.
- After that, select Create Local Backup.
- Now select Local Backup and hit Next.
- When in Local Backup Only section, use Browse option to open the location where you want to backup the company file.
- Here, you can specify the number of the backups you want to keep.
- From within the Online and Local Backup section, select Complete verification option and it will run a test to ensure that the backup file is in a good shape.
- Hit OK.
- Here, you can choose between the available backup options: Save it now and schedule future backups or Only schedule future backups.
- Hit Next.
- Checkmark the box against Save backup copy automatically when I close my company file.
- Enter the number of times between backups in the given box.
- Now select New to create a schedule.
- Schedule your backup by filling out the data field. You can specify a date or time of the weak for the backup.
- Select OK after scheduling the automatic backups.
- Enter Windows sign-in credentials to enable QuickBooks to run the scheduled backup.
- Select Finish when you are ready to create your backup.
QuickBooks creates a backup of the company file and schedule the future backups at the same time. You will receive a confirmation message when its done.
Method 2: Backup QuickBooks Company File Manually
This method enables users to take the company file backup anytime they want.
- Open QuickBooks and from within the File menu, select Switch to single-user mode.
- Again in File menu, hover mouse over Backup Company and then select Create Local Backup.
- Moving ahead, select Local Backup and then click Next.
- Now select the Browse option from within the Local Backup Only section to choose the location for the company file backup.
- Select the number of the backups you want to keep. However, it is optional.
- Next, select Complete verification and it will run a test to confirm that the backup file is in a good shape, free from damage or corruption.
- Click OK when you are ready for taking the backup.
Finally, select Save it now and hit Next.
QuickBooks creates a single backup company file and you will receive a confirmation message for the same.
Step 2: Adjust Backup Preferences
After creating the backup file, you can change your backup preferences:
- Select the File and hover your mouse over Back up Company.
- Now select Create Local Backup and then Options.
- Make the required adjustment and then select OK.
Final Words!!
As demonstrated above, we have covered the entire procedures that you can carry out at an ease to backup QuickBooks desktop company file. In case, if the above-mentioned steps does not work for you, or if you still need any help related to the topic, then you can connect with our experts through QuickBooks helpline number. Our experts are available 24*7 to deeply understand your query, and assisting you with the best possible solutions.
